Section 1 of 9Why we need microscopes

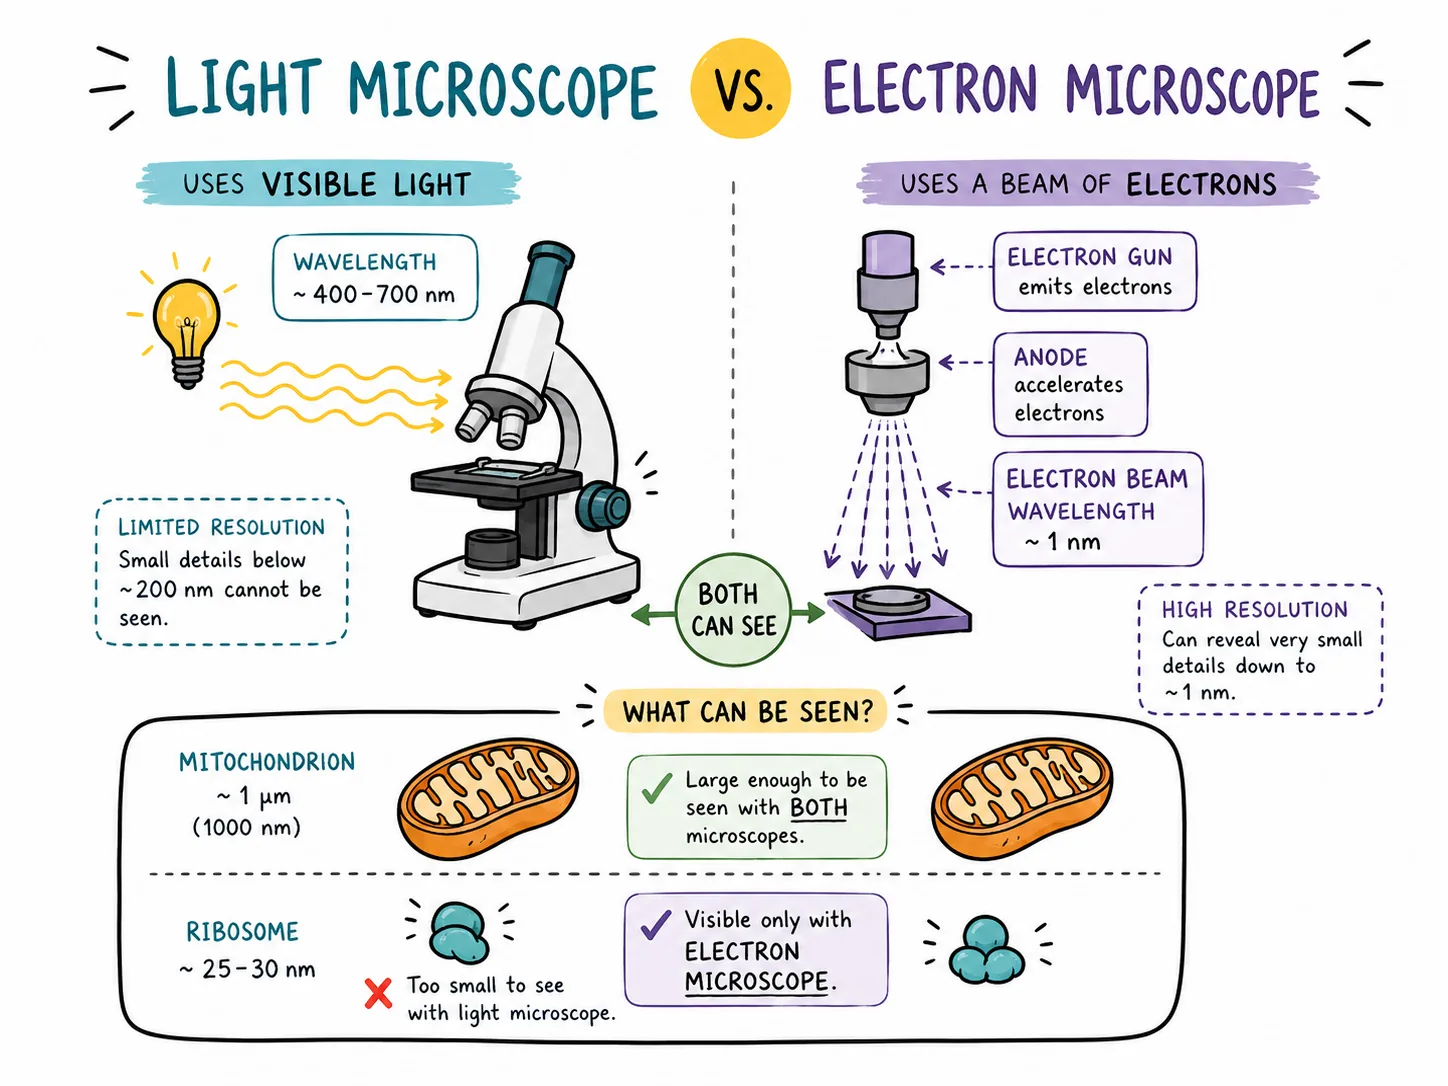
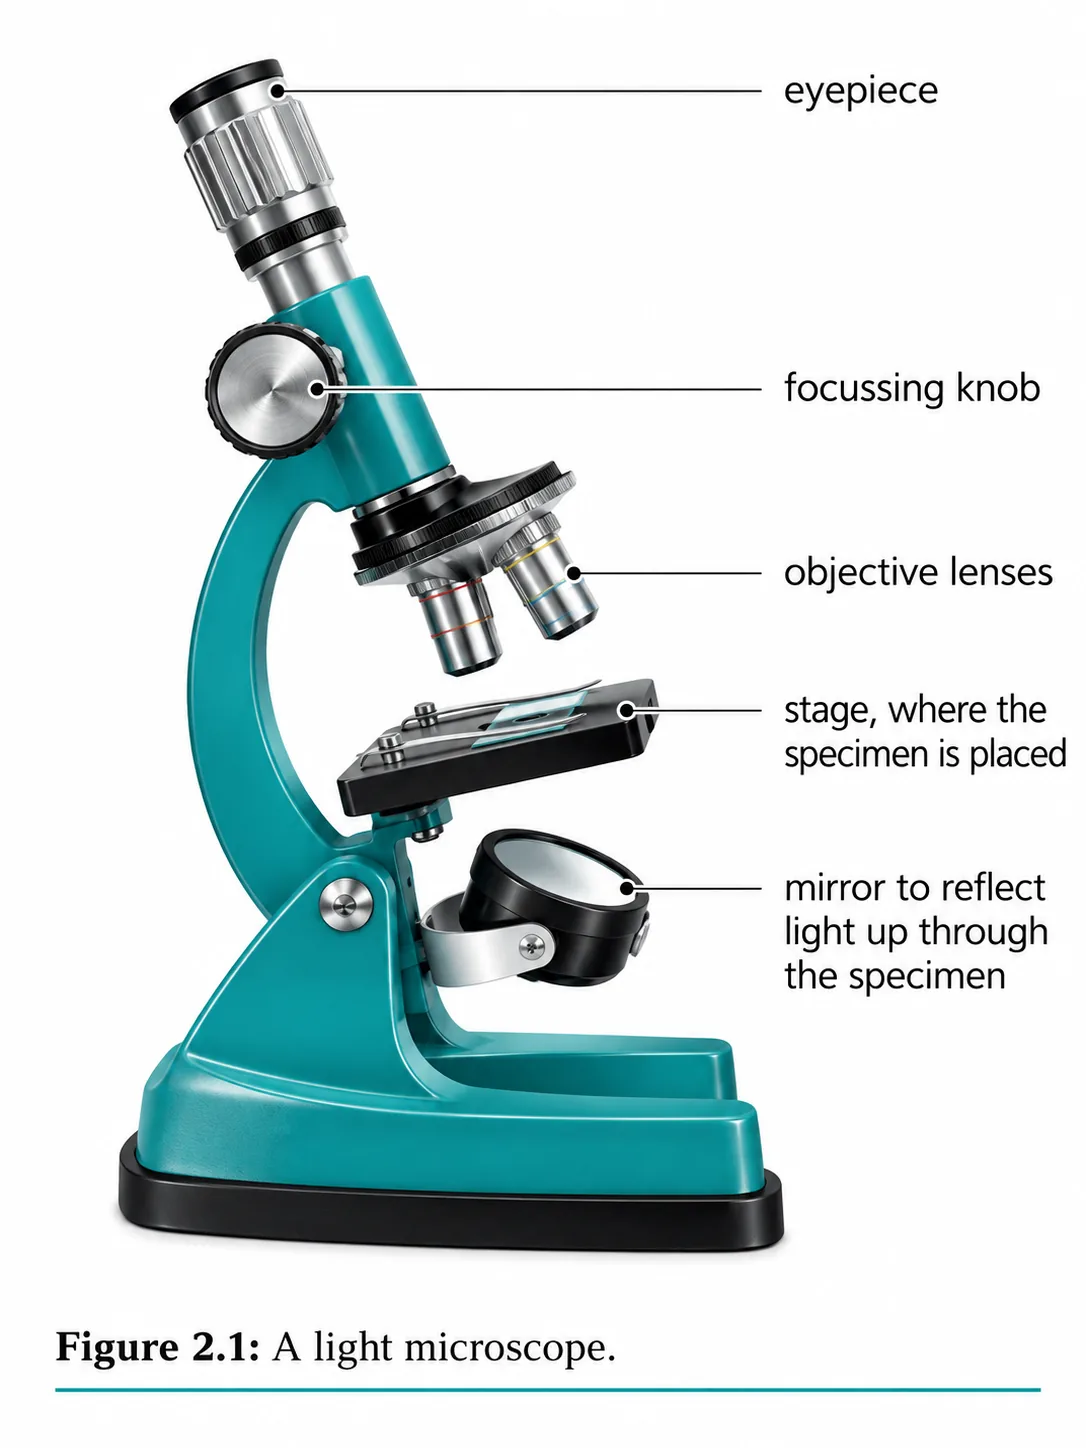

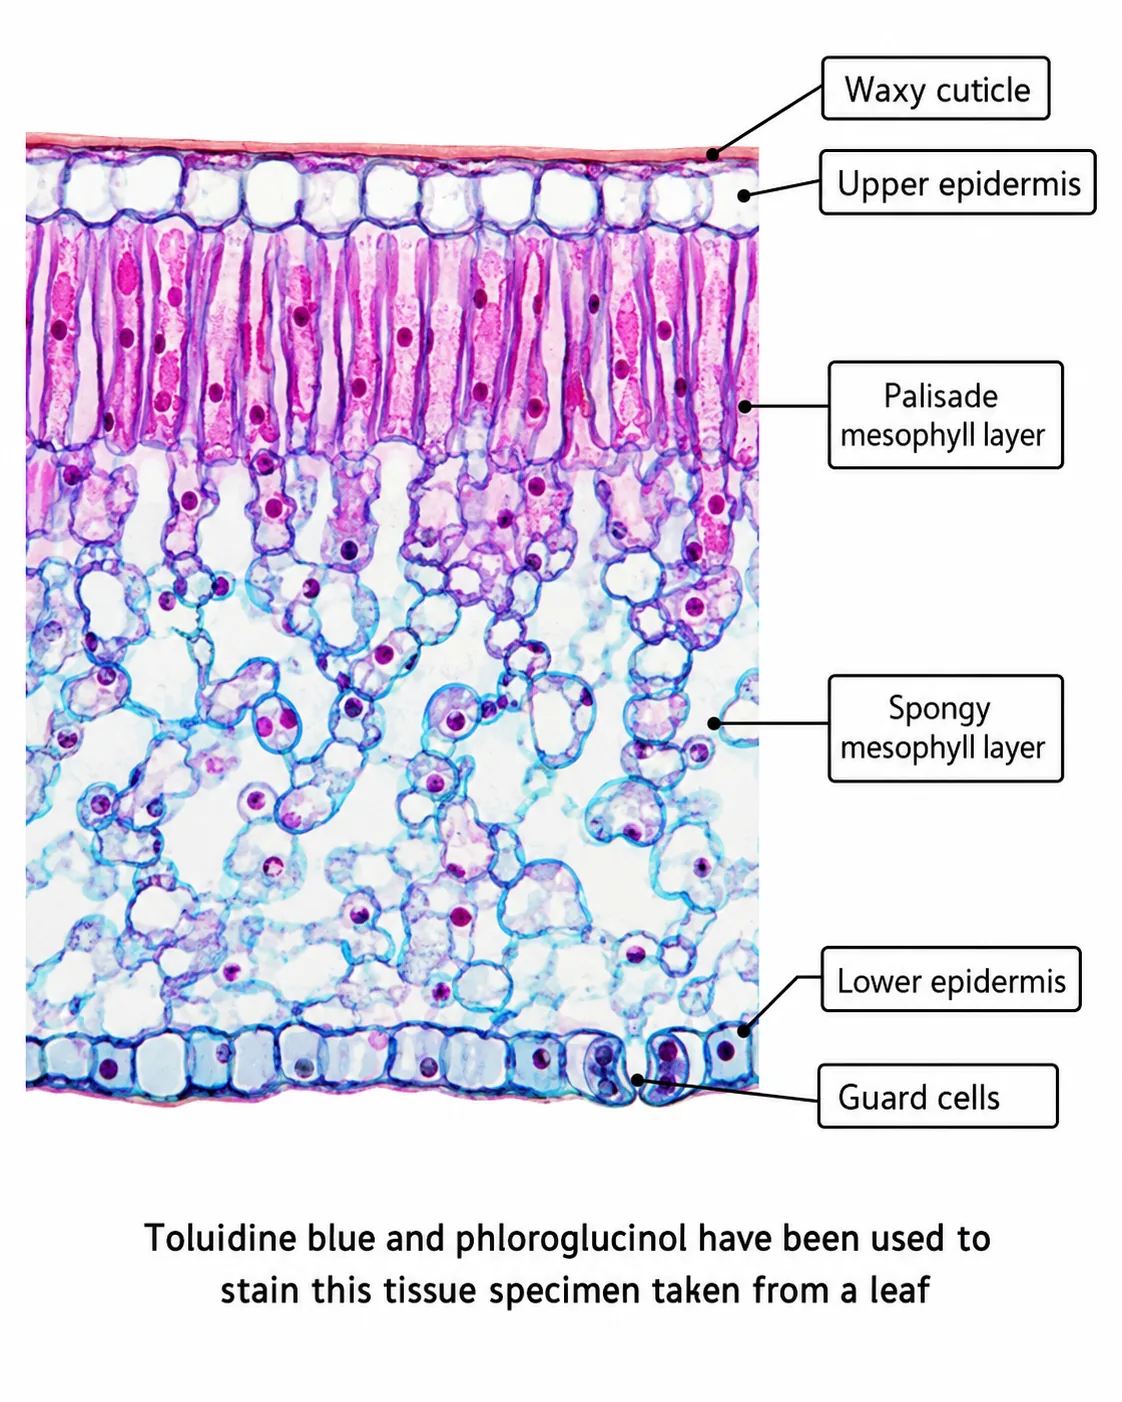
Most cells are far too small to see with the naked eye.
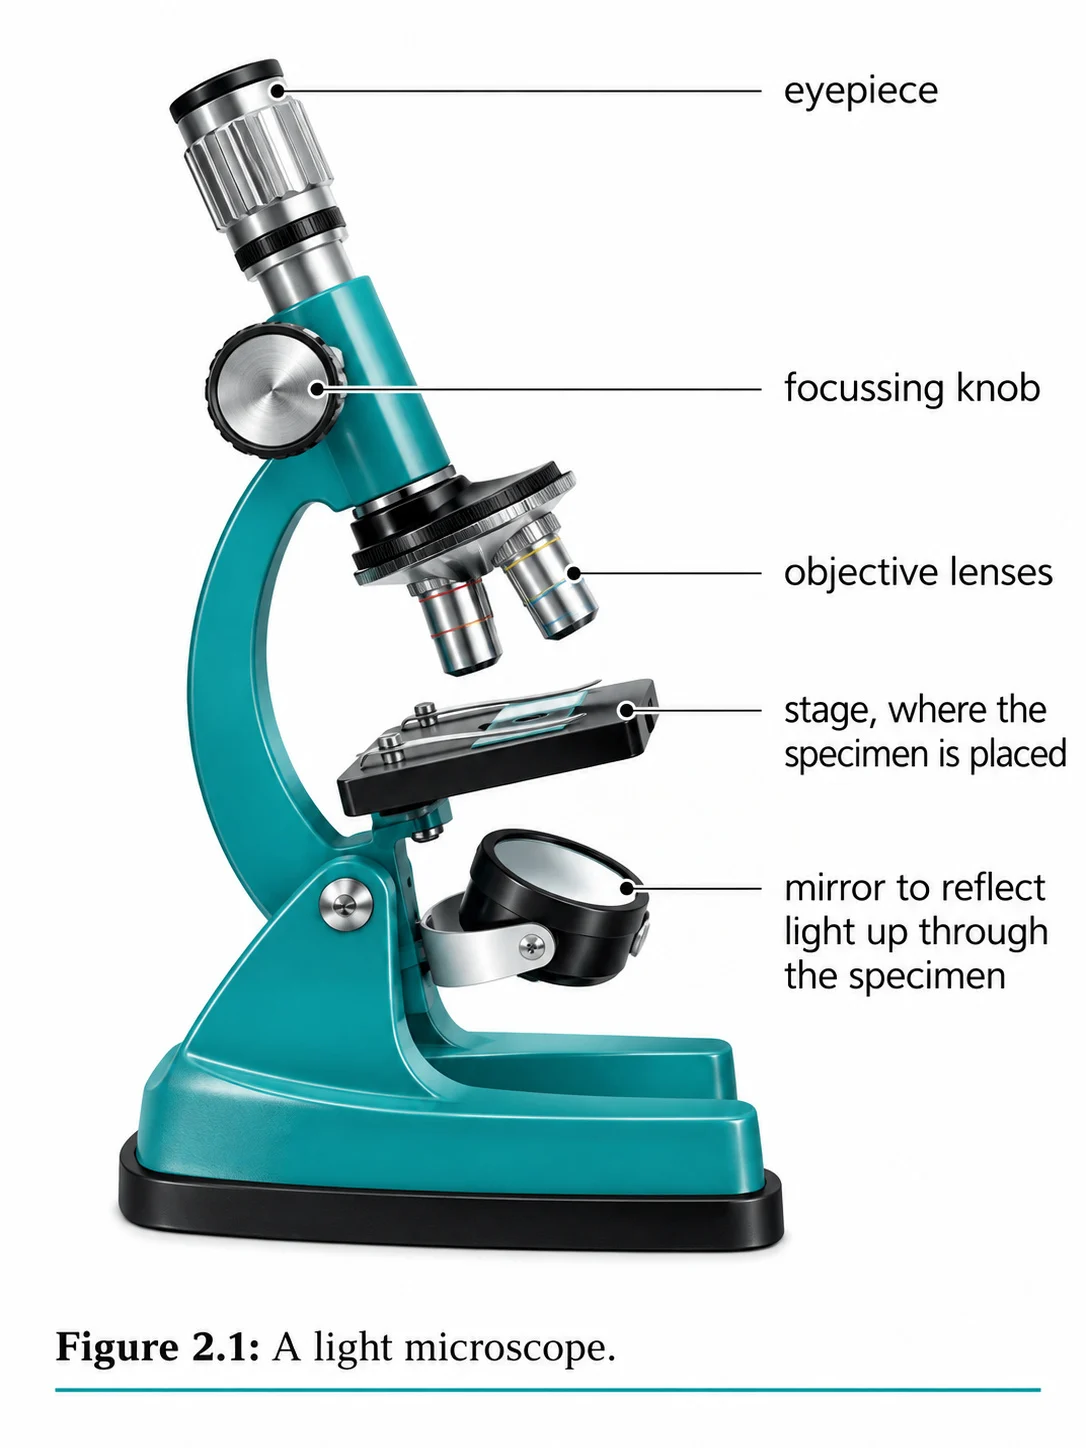
Section 2 of 9Parts and how to use one
To view a specimen
- place the slide on the stage;
- select the lowest-power objective;
- look from the side while turning the coarse focus so the lens is close to, but not touching, the slide;
- then look through the eyepiece and turn the coarse focus away from the slide until the specimen is roughly in focus;
- sharpen with the fine focus;
- and only then switch to a higher-power objective and refocus with the fine knob alone.
- Starting at low power gives a wide field of view, so the specimen is easier to find, and it avoids the lens hitting the slide.
Section 3 of 9Preparing a slide
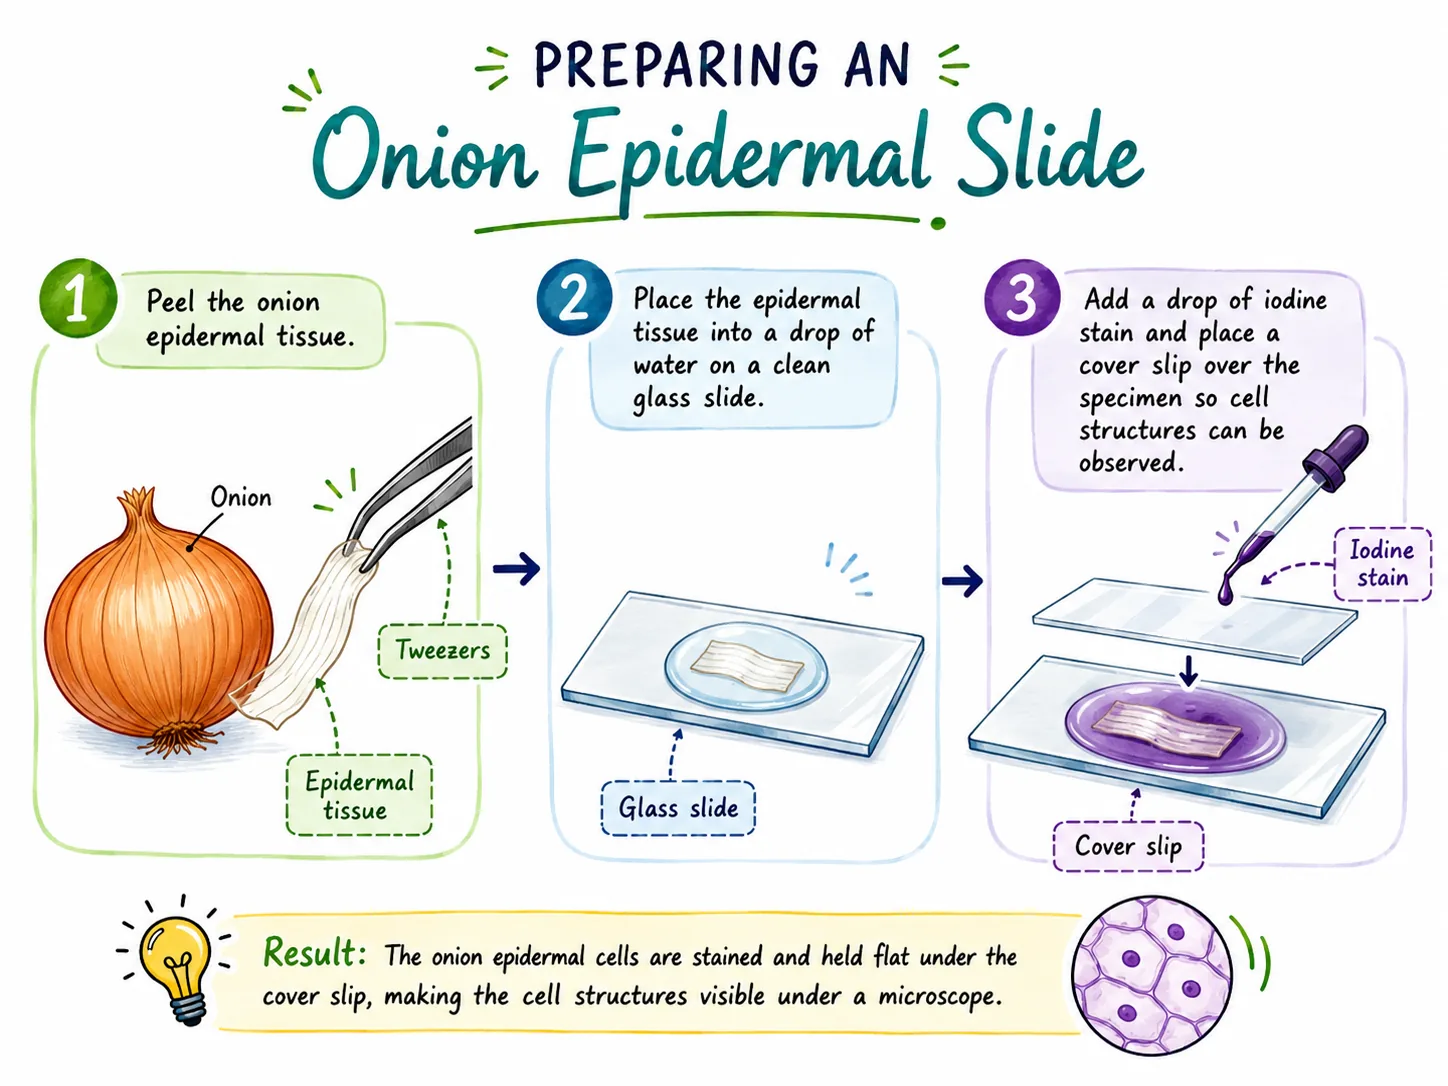


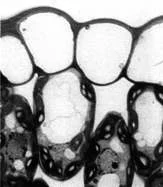
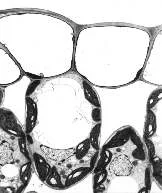
Specimens must be thin enough for light to pass through. A common method for onion epidermis is:
Other stains include methylene blue for animal cells such as cheek cells. Without a stain, cells are mostly transparent and low in contrast.
Section 4 of 9Magnification and resolution

Magnification is how many times larger an image is than the real object. For a light microscope the total magnification is the product of the lenses:
- Make sure the units match1 mm = 1000 micrometres (µm).
- So an image of a cell measured as 20 mm long under ×400 magnification has an actual length of 20 / 400 = 0.05 mm, or 50 µm.
Resolution is the ability to distinguish two points that are close together as separate. Light microscopes can resolve objects down to about 0.2 micrometres, which limits them as light waves are too long to resolve smaller detail. Increasing magnification beyond this limit just gives a bigger, blurrier image.
Section 5 of 9Drawing and interpreting


Scientific drawings should be made in pencil with clear, continuous lines, with no shading or colouring, and should fill a good proportion of the space.
Section 6 of 9Using a graticule and the scale of cells
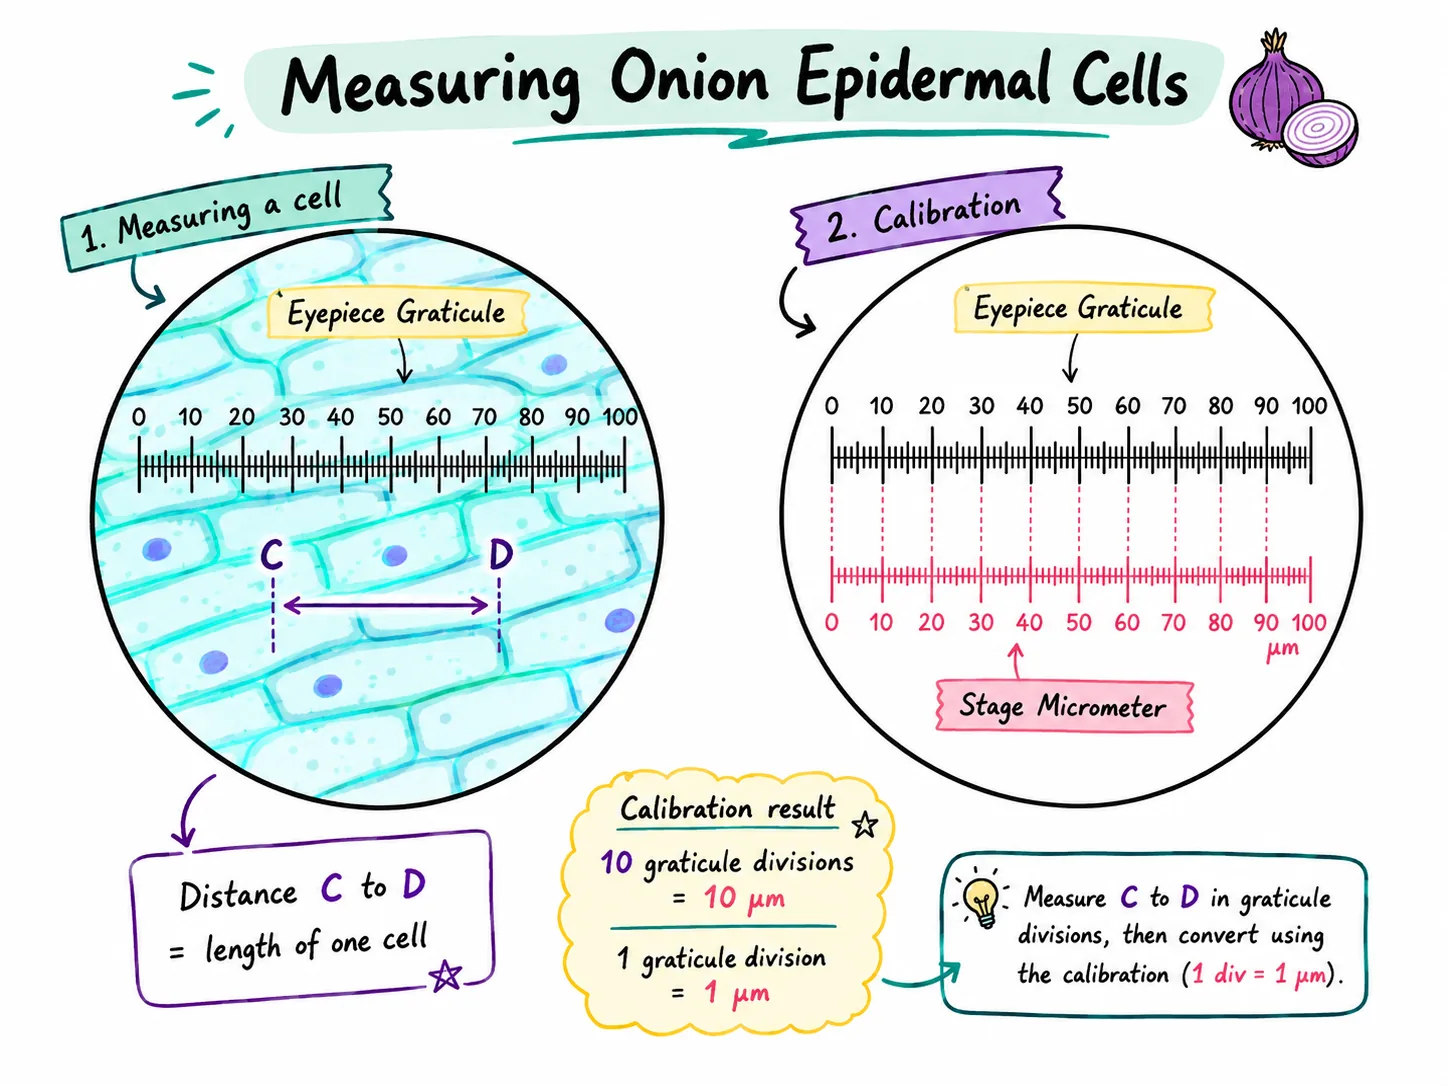
An eyepiece graticule is a small ruler inside the eyepiece.
Section 7 of 9Exam-style questions

A student looks at a cell using a ×10 eyepiece and a ×40 objective lens. The image of the cell is 12 mm long. Calculate the actual length of the cell in micrometres. [4]4 marks
1. Total magnification = 10 × 40 = 400 [1].
2. Actual size = image size / magnification = 12 / 400 [1].
3. = 0.03 mm [1].
4. 0.03 × 1000 = 30 µm [1].
Explain why a student should always start with the lowest-power objective lens when finding a specimen. [2]2 marks
1. A low-power lens has a wider field of view and is further from the slide, so the specimen is easier to find [1].
2. It reduces the risk of the lens hitting and breaking the slide or being scratched [1].
Section 8 of 9Key terms
| Term | Meaning |
|---|---|
| Magnification | How many times larger an image is than the actual object. |
| Resolution | The ability to distinguish two close points as separate. |
| Eyepiece lens | The lens at the top of a microscope that the observer looks through. |
| Objective lens | One of the lenses near the specimen on the rotating nosepiece. |
| Stain | A dye used to make structures in a specimen show up. |
| Cover slip | A thin glass or plastic sheet placed over a specimen on a slide. |
| Micrometre | One millionth of a metre; 1000 micrometres equal 1 mm. |
Section 9 of 9Exam technique
Marked practiceQuizzes for this lesson
Magnification Triangle & Unit Conversion
Formula: M = I / A ⇔ A = I / M ⇔ I = M × A
Units: 1 mm = 1,000 μm = 1,000,000 nm.
Rule: Convert Image size (ruler mm) to μm by ×1,000 before dividing by Actual size.