7.1.1Practical Skills
Practical: Using Light Microscopes to View Cells
5 min read 8 parts Lesson 2 of 11 1 quiz
Section 1 of 8Why we use light microscopes


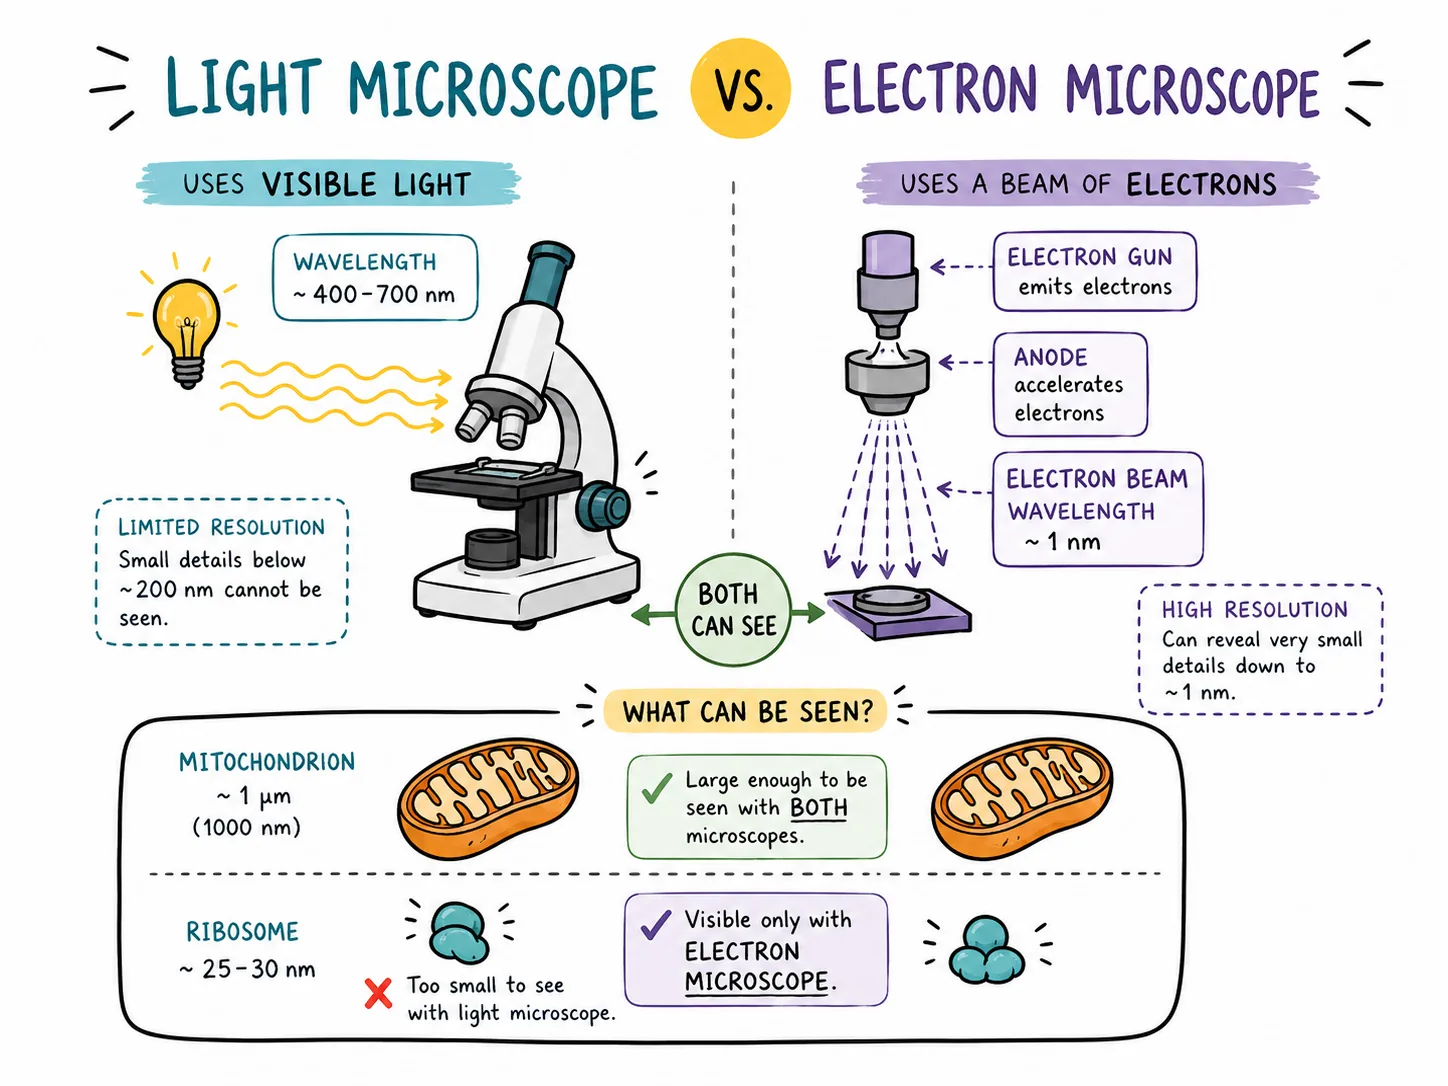

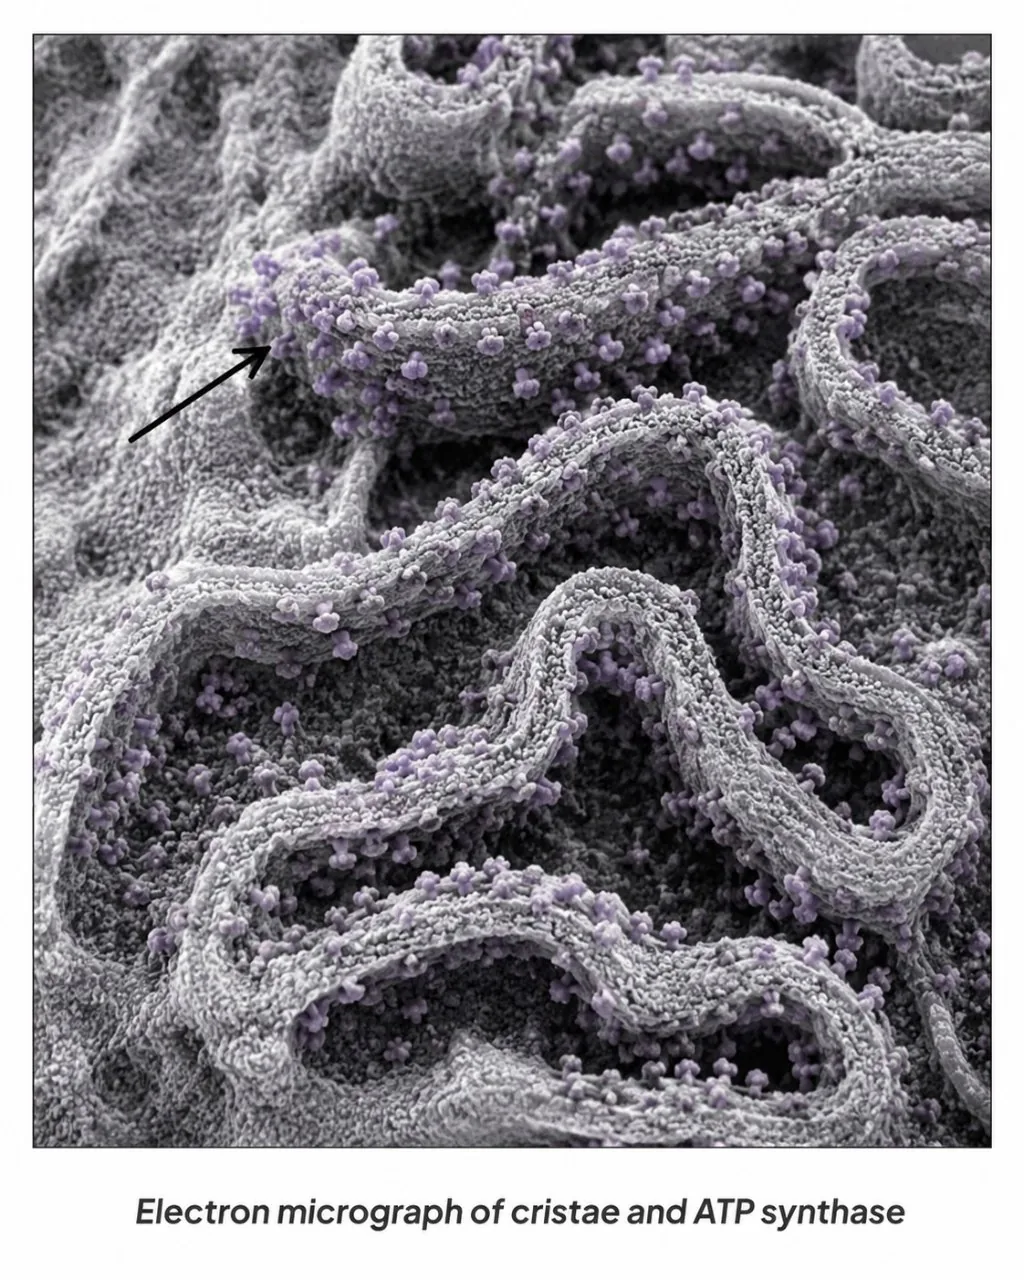



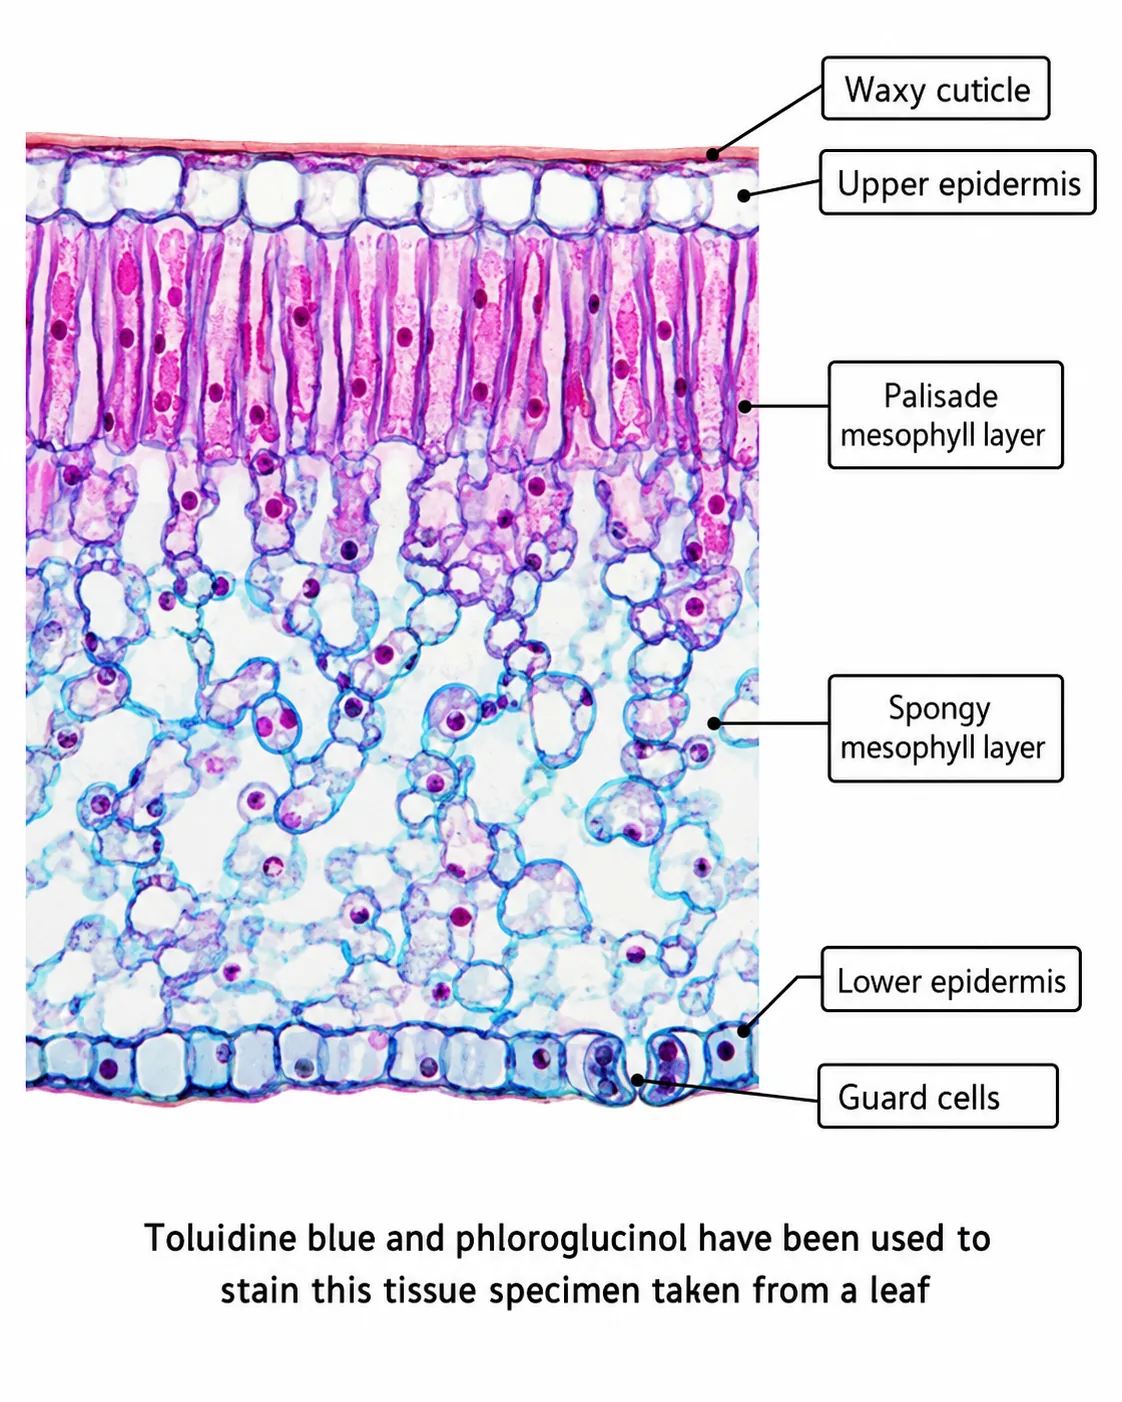

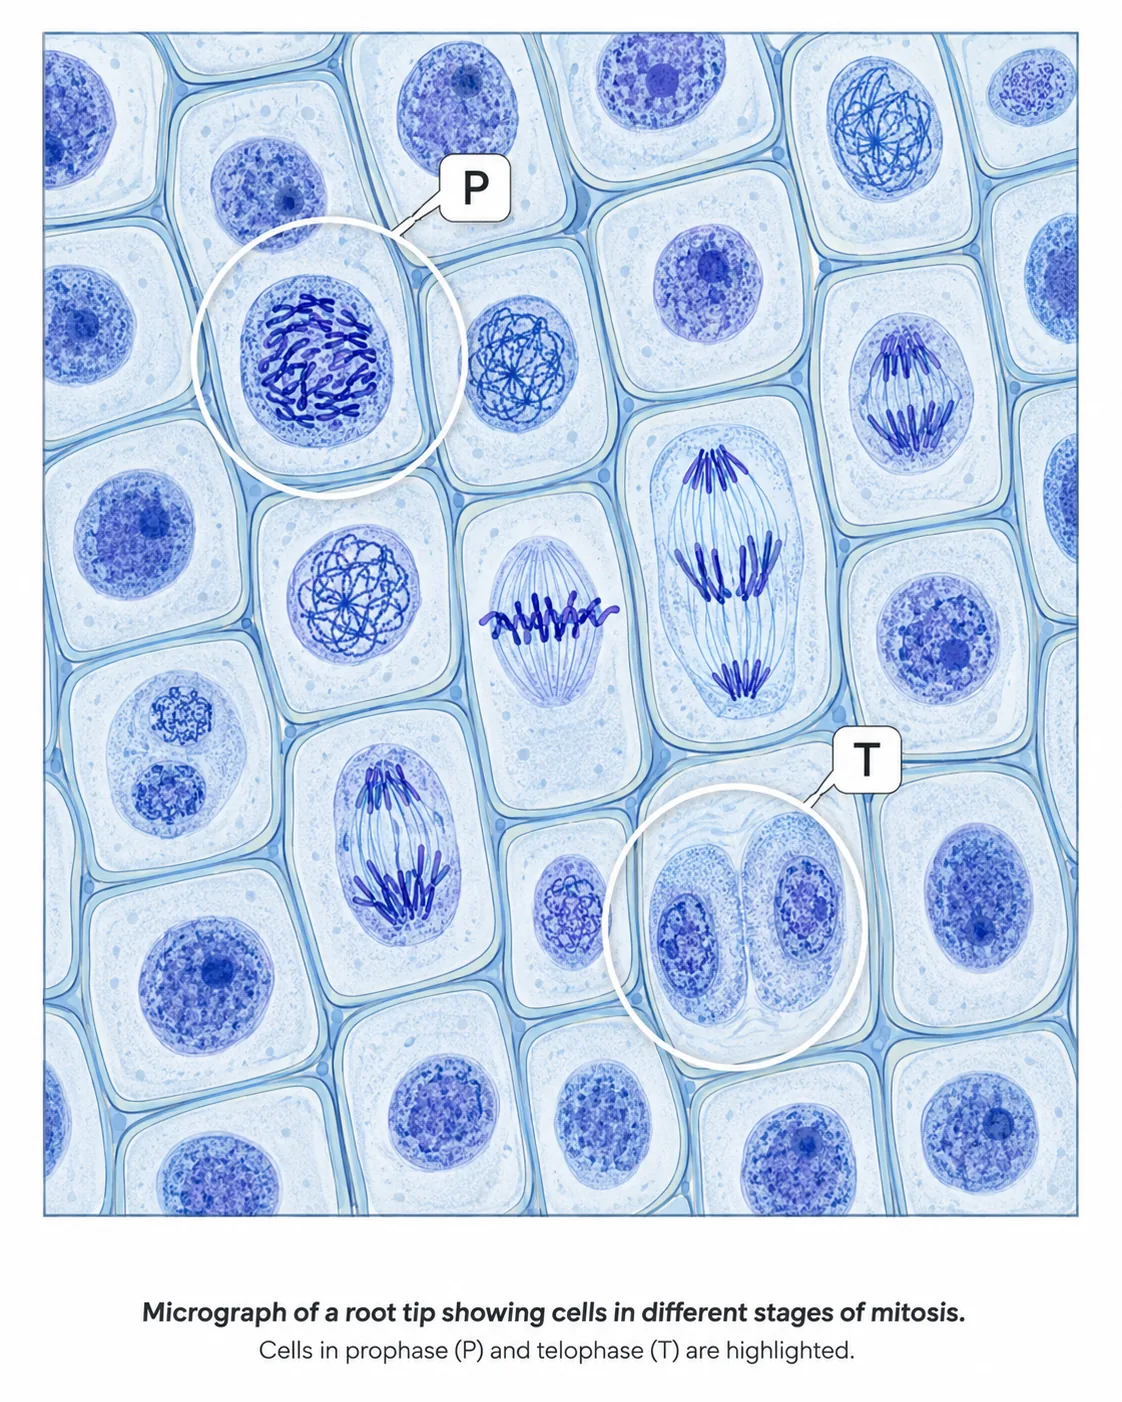
Most cells are far too small to see with the naked eye.
Magnification and resolution are different ideas. Making an image bigger (magnification) does not make it clearer unless the resolution is high enough to show more detail.
Section 2 of 8Parts of the microscope and what they do
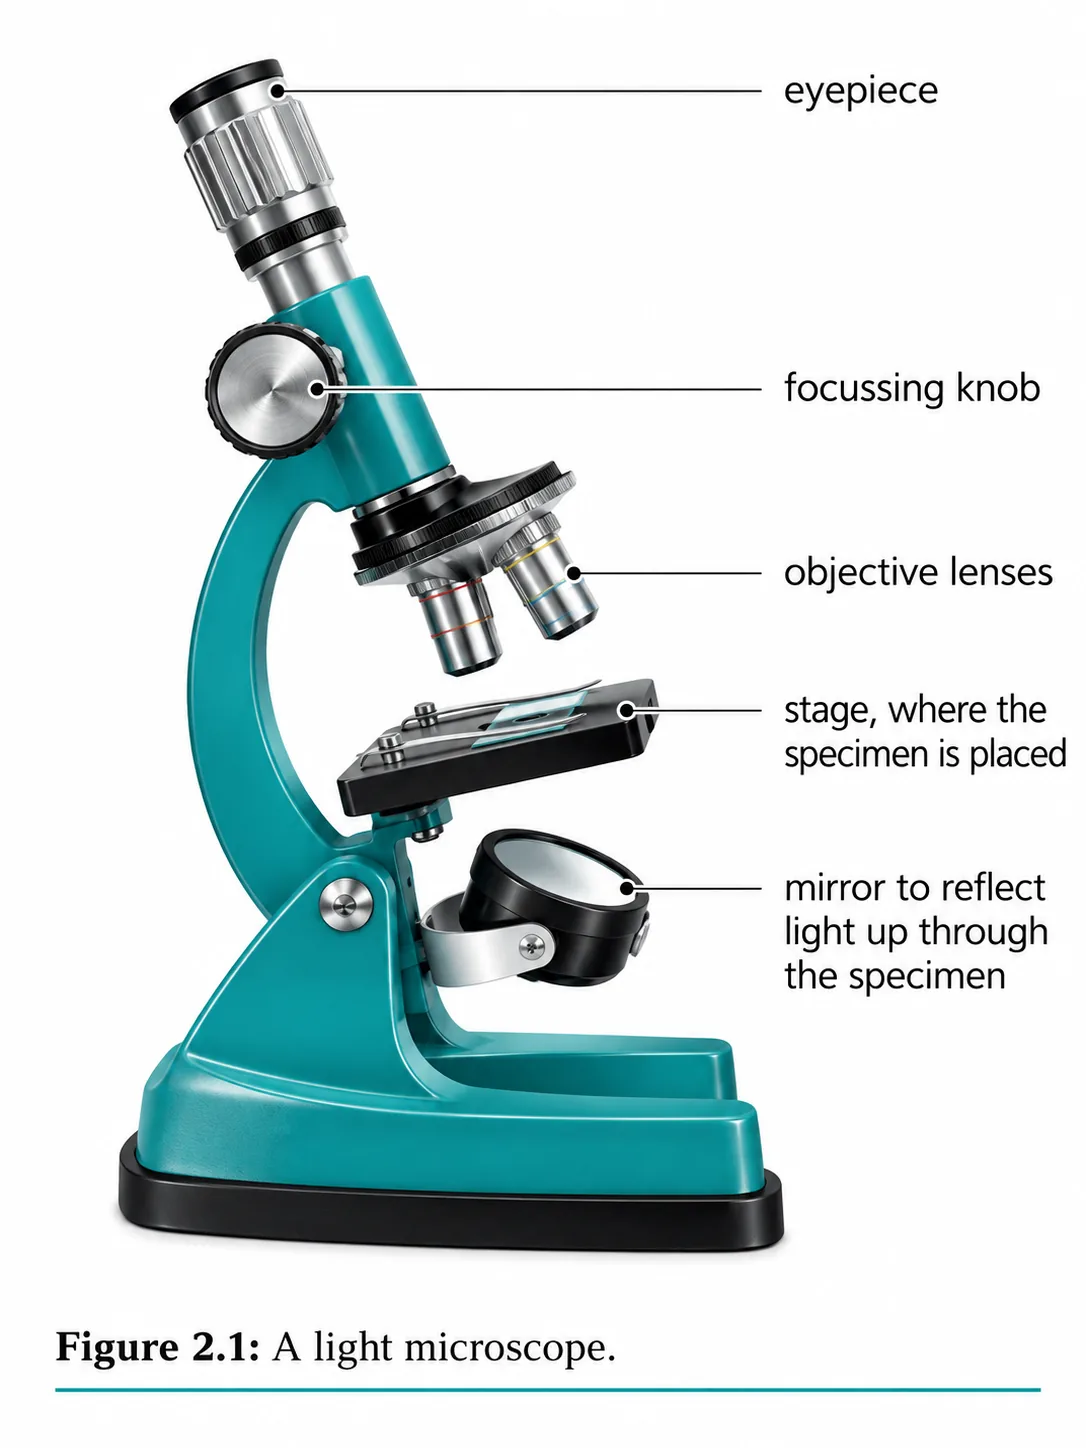
| Part | Job |
|---|---|
| Eyepiece lens | Lens you look through; usually x10 |
| Objective lenses | Lenses of different power (for example x4, x10, x40) on a rotating nosepiece |
| Stage and clips | Hold the slide still |
| Light source or mirror | Shines light up through the specimen |
| Coarse focus wheel | Moves the stage or lens a large distance to find the image |
| Fine focus wheel | Small movements to sharpen the image |
Total magnification = eyepiece magnification x objective magnification. A x10 eyepiece with a x40 objective gives x400.
Section 3 of 8Method: preparing and viewing a slide
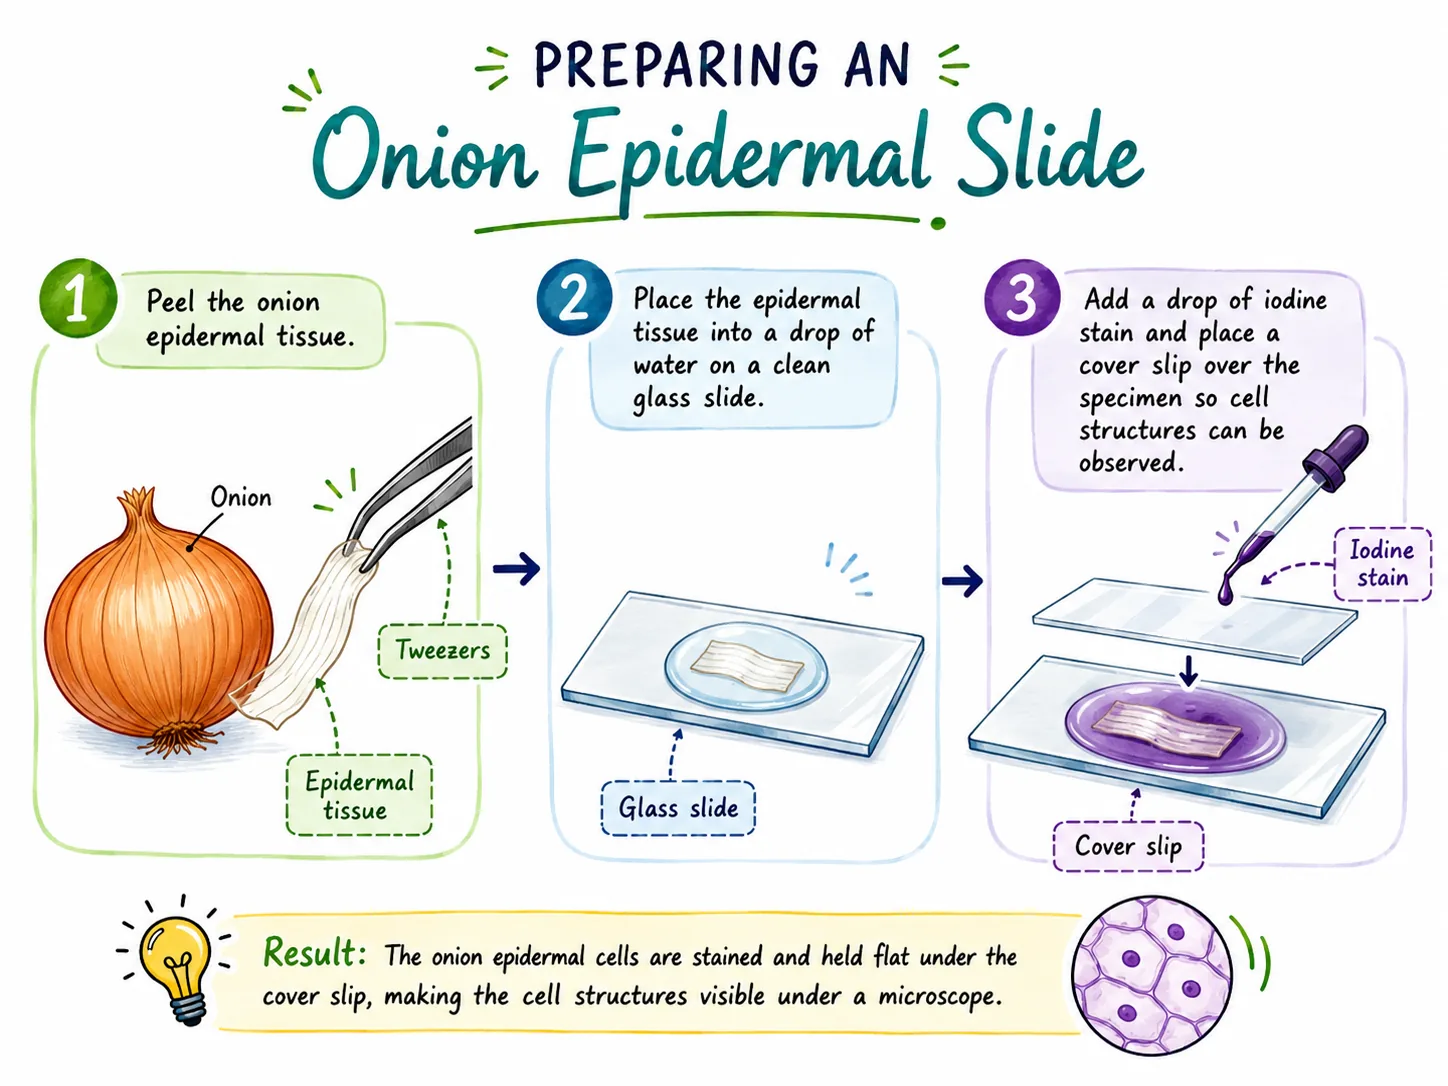
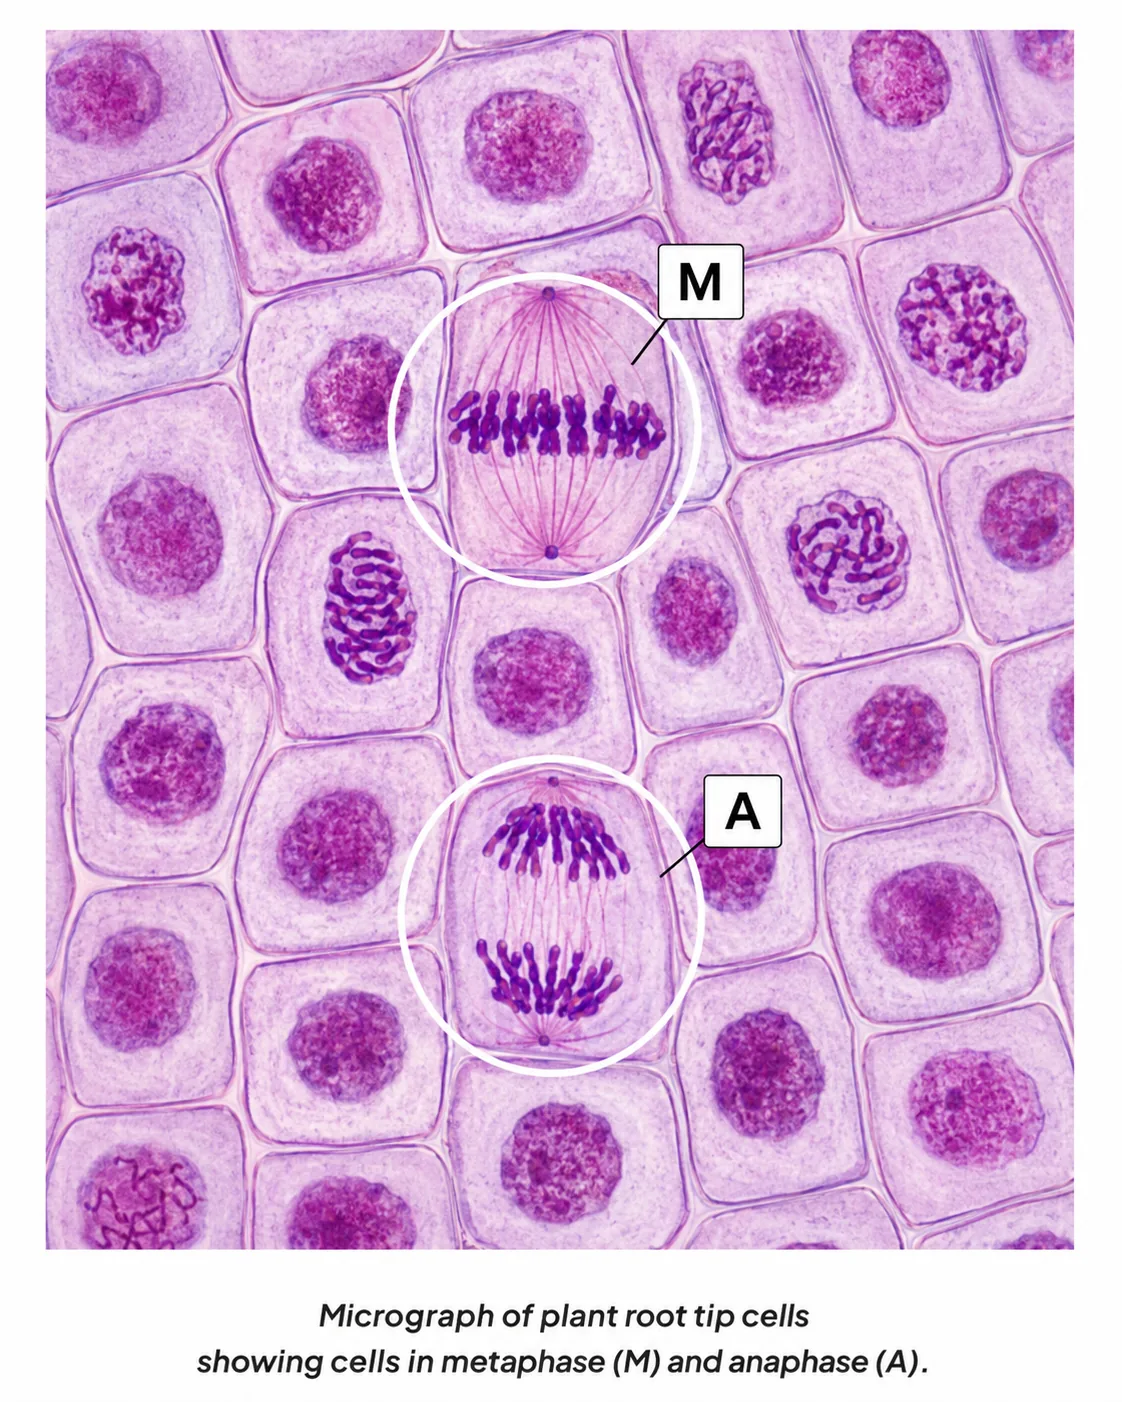
A typical specimen is a thin layer of onion epidermis stained with iodine solution.
- Then look through the eyepiece and focus slowly, moving the lens away from the slide.
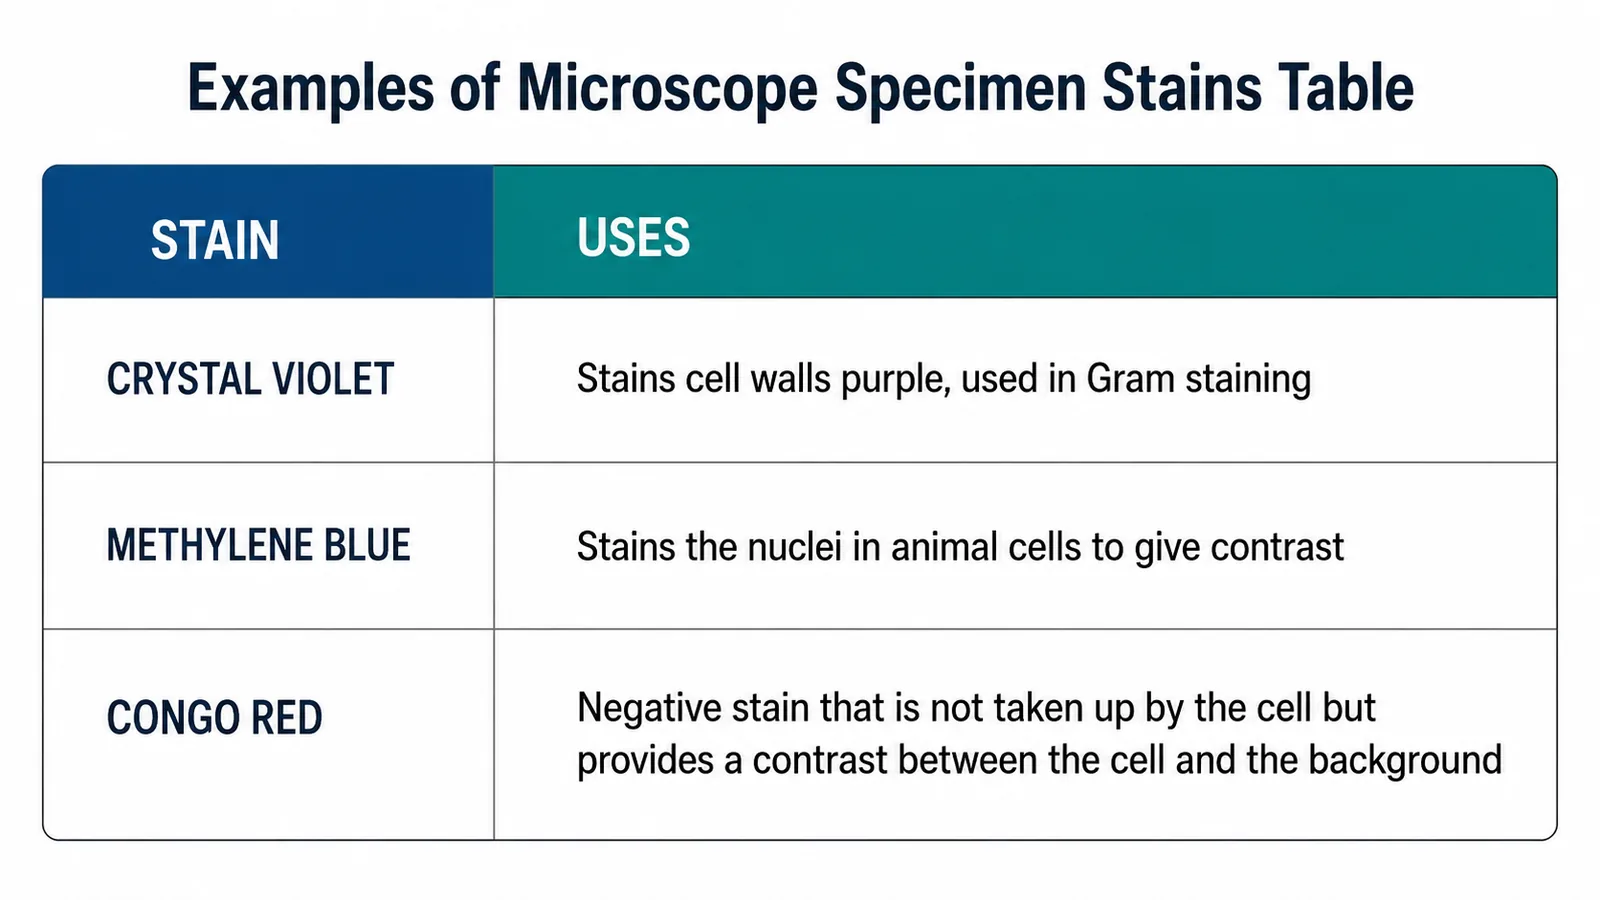
Starting on low power gives the widest field of view, so the specimen is easy to find. Focusing by moving the lens away from the slide avoids cracking the coverslip. Staining adds contrast because most cells are almost transparent.
Common problems
- air bubbles look like dark-edged circles and should not be drawn;
- a specimen that is too thick lets too little light through, so the cells overlap and the image is blurred;
- and a dry slide shrinks the cells.
- Add a drop of water if the mount dries out.
Section 4 of 8Drawing the specimen
A good biological drawing is a scientific record, not a work of art.
Section 5 of 8Calculating magnification and actual size
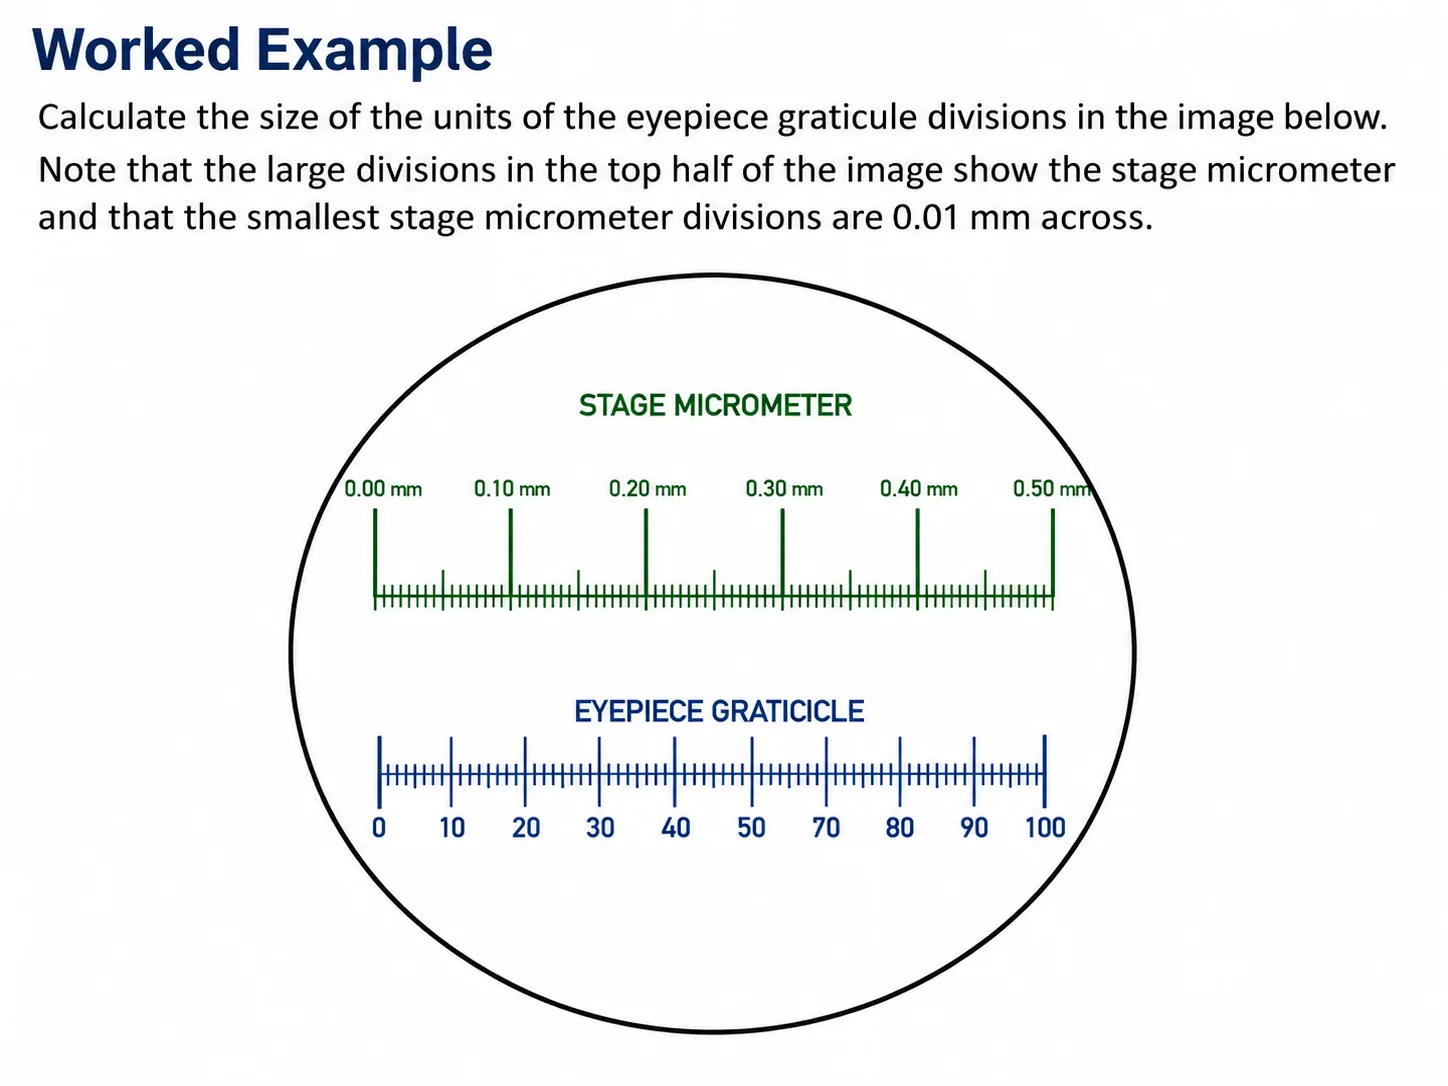
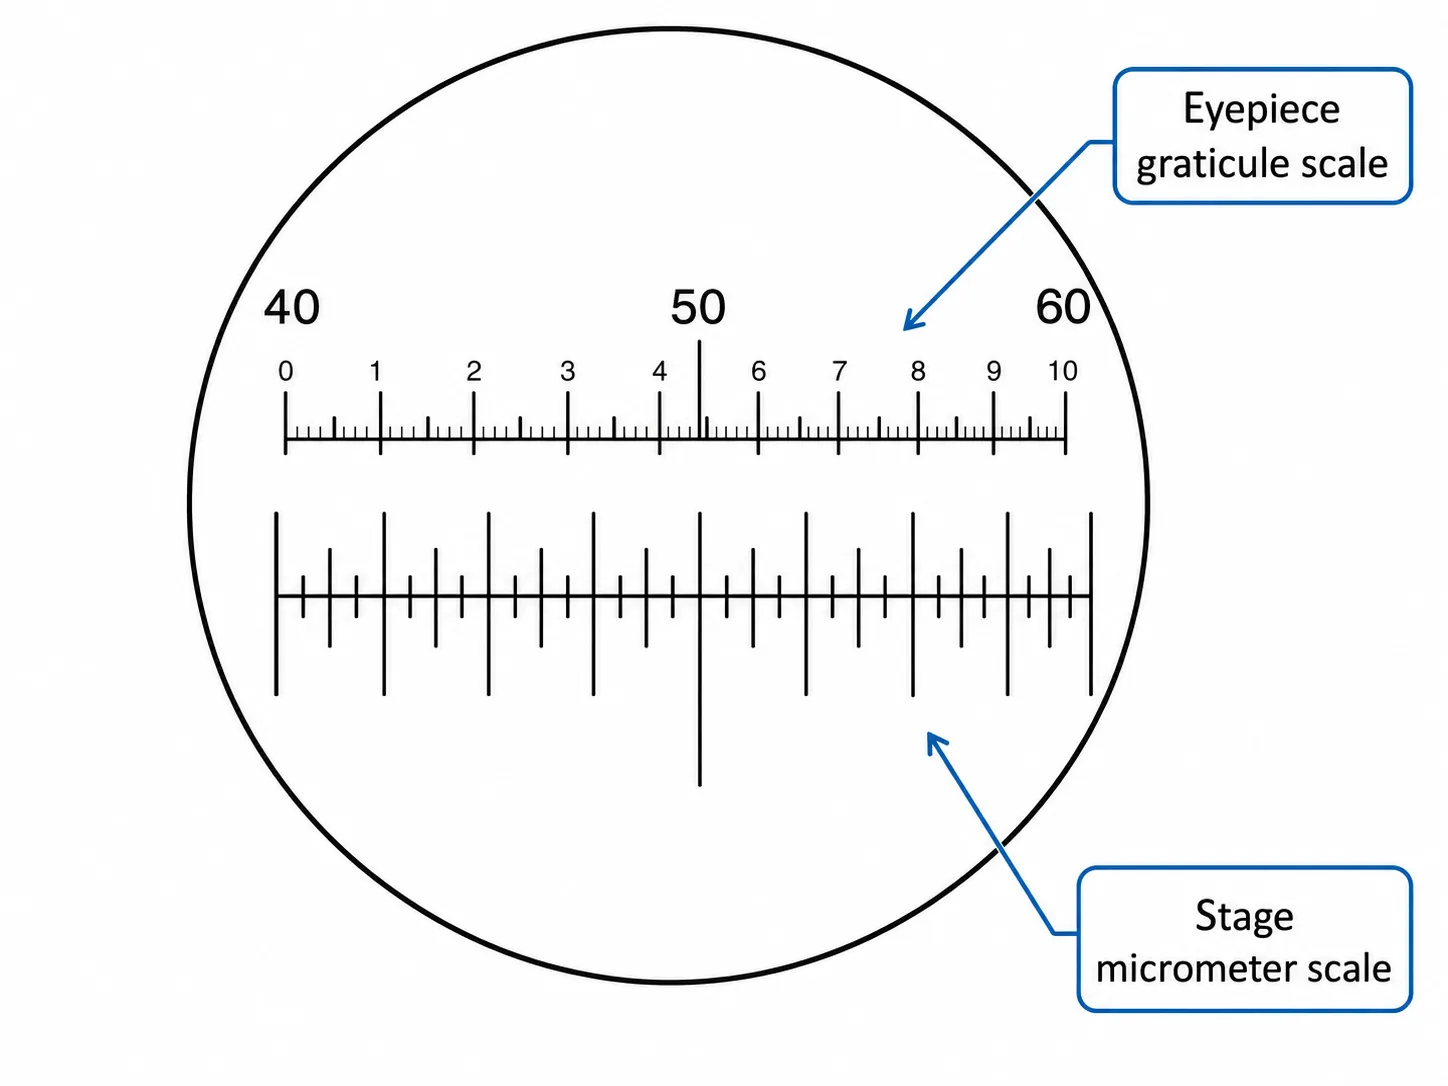
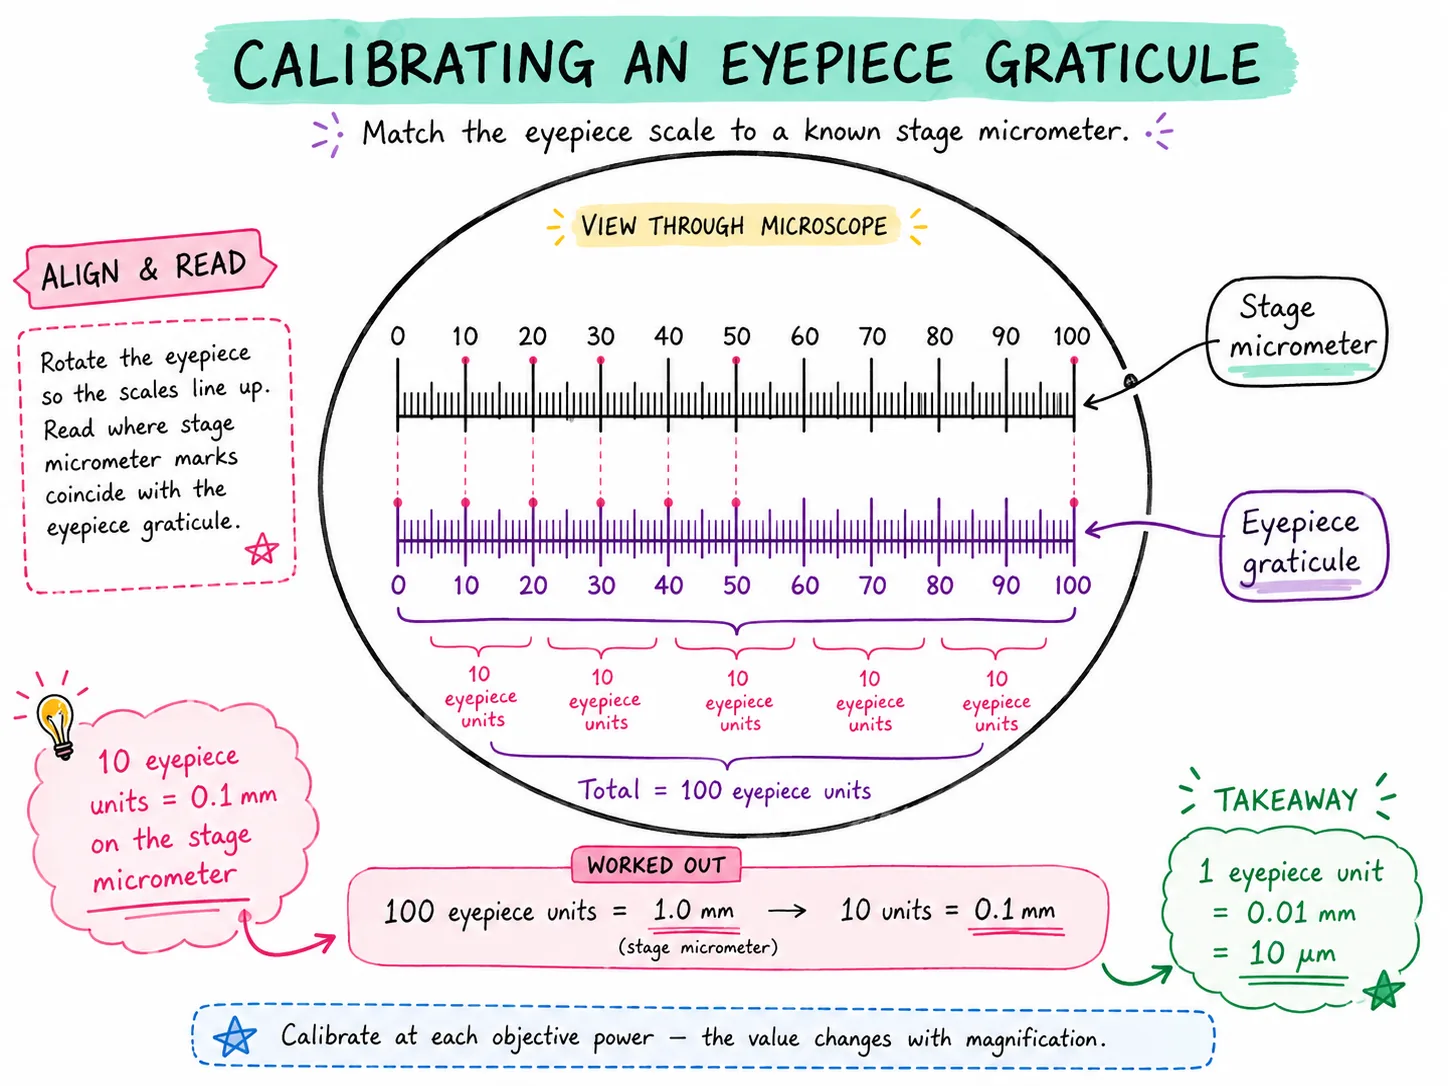
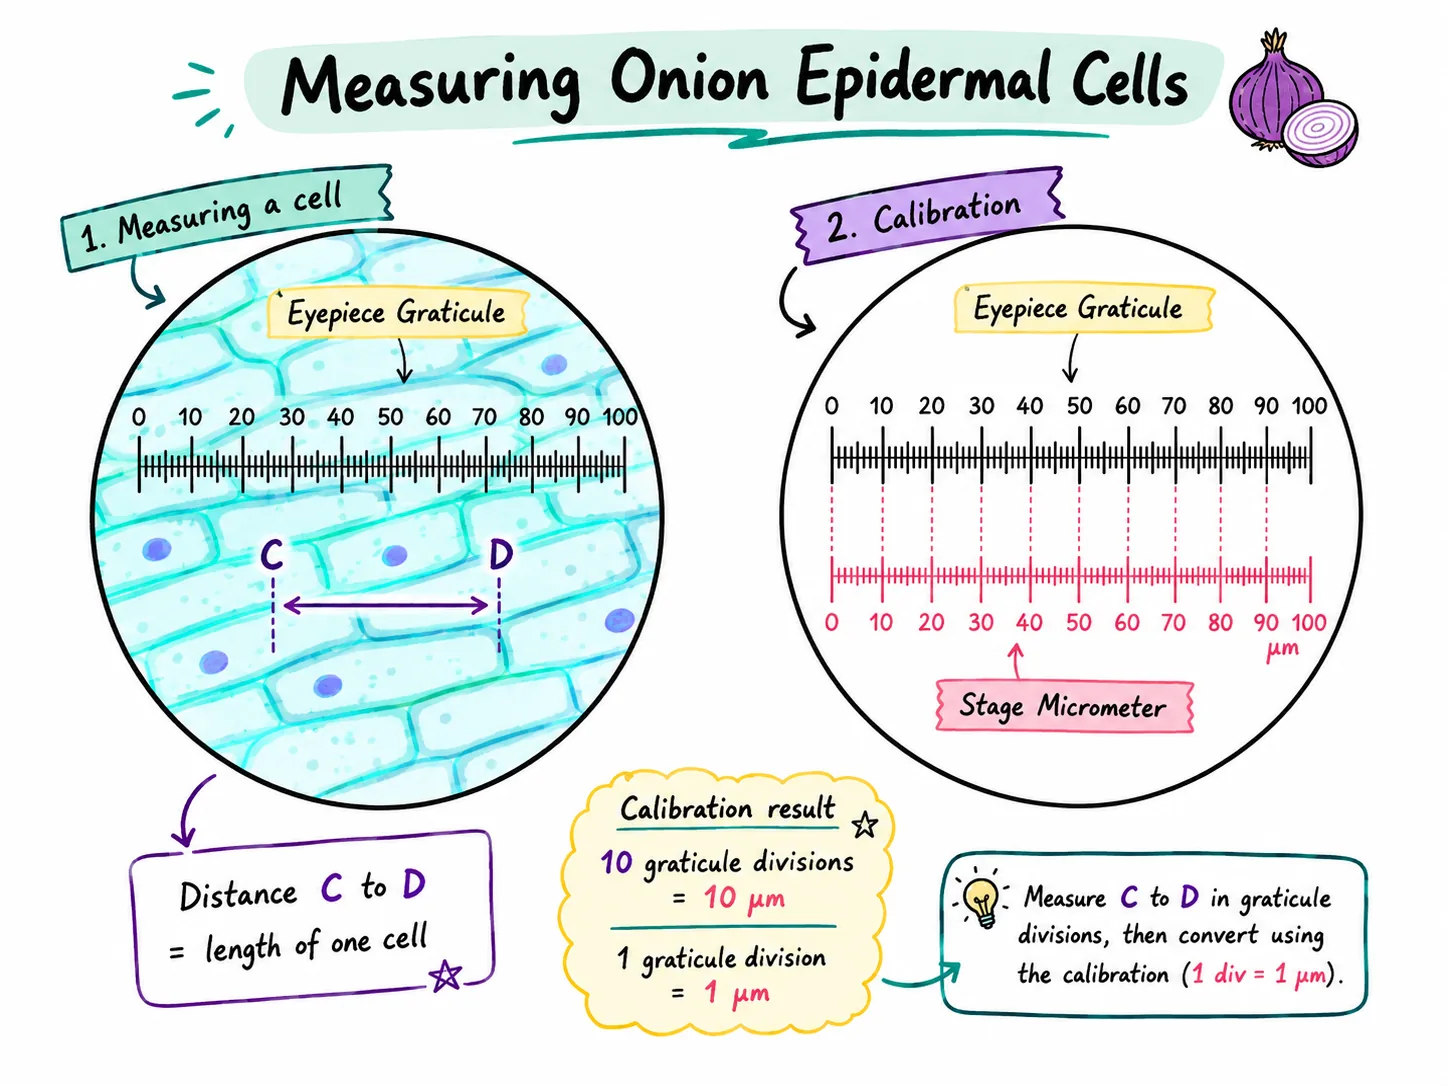


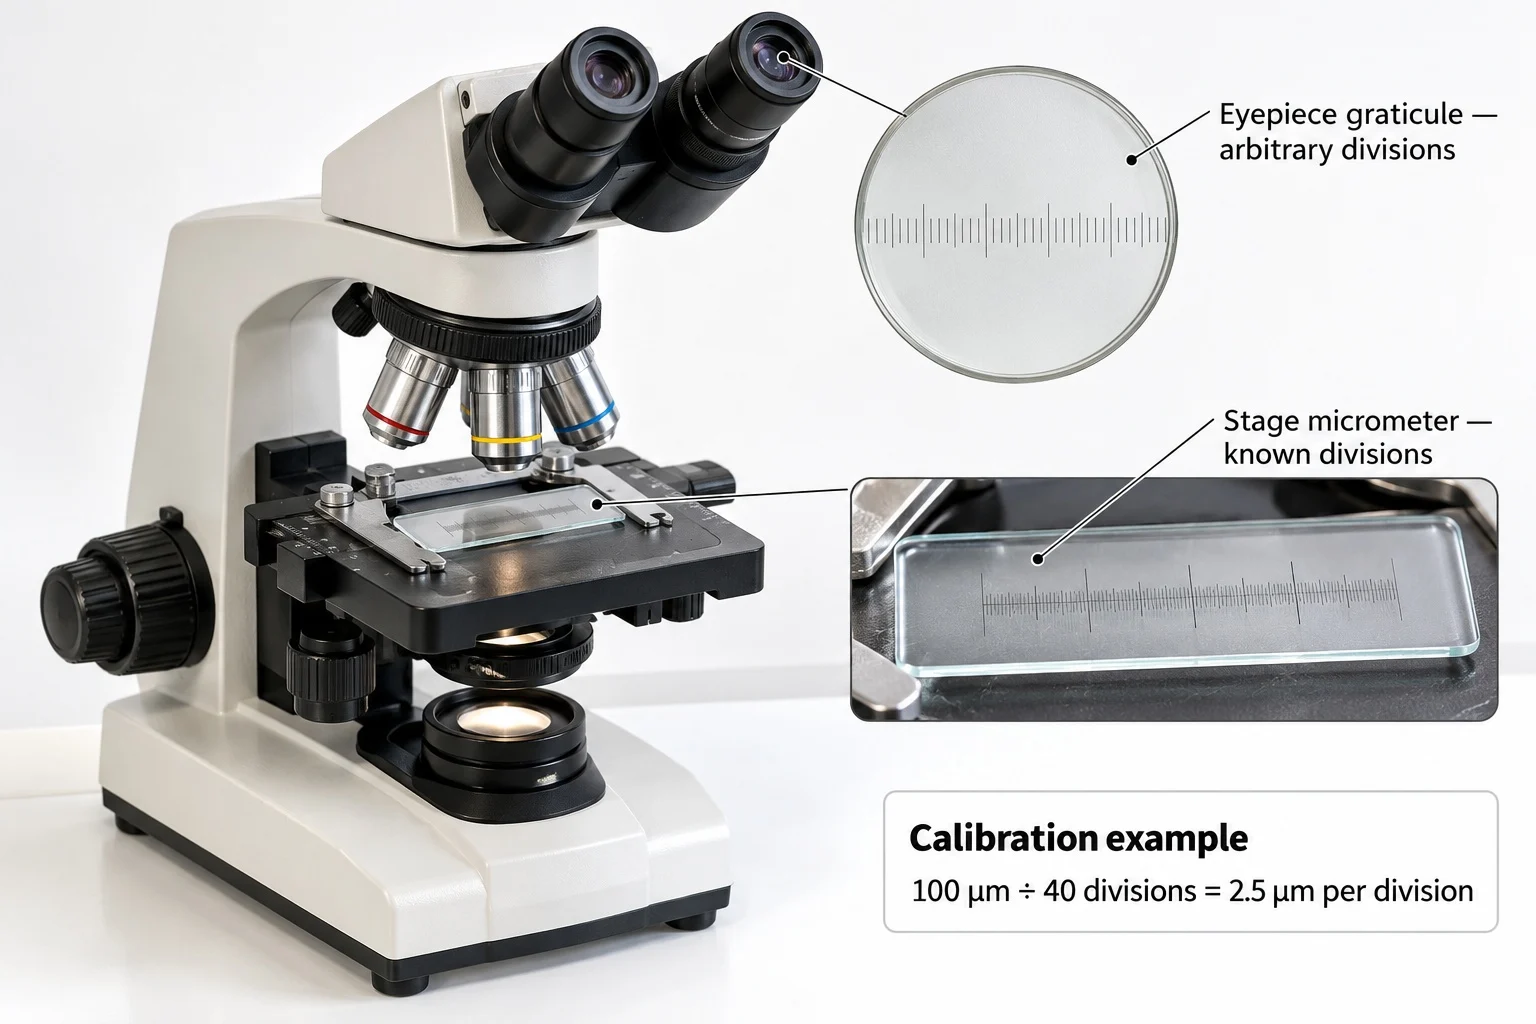
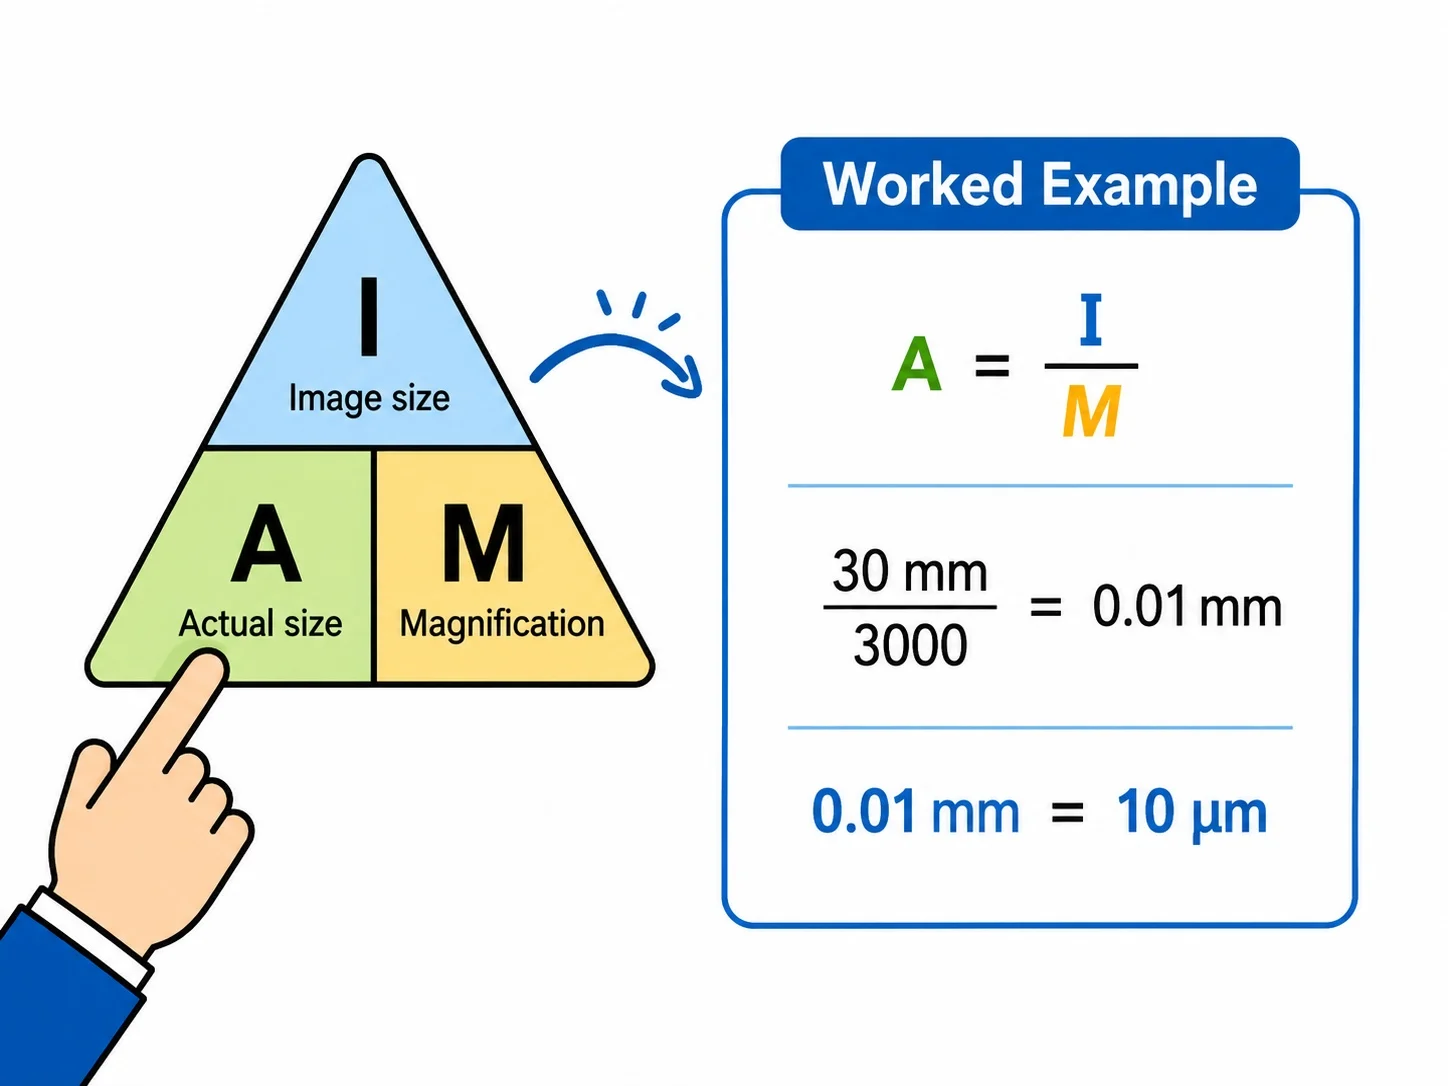
The key equation links three quantities:
magnification = image size / actual size
- Always measure with a ruler in millimetres and convert to the unit you need.
- Units of length1 mm = 1000 micrometres so multiply by 1000 to go from mm to um.
- The actual width is 30 / 400 = 0.075 mm, which is 75 um.
- A frequent exam skill is working with scale bars: measure the bar, work out what each mm represents, then measure the structure.
- because microscopes are how those features are observed.
Section 6 of 8Exam-style questions

A student views onion cells using a x10 eyepiece lens and a x40 objective lens. (a) Calculate the total magnification. [1] (b) The image of one cell is 24 mm long in the student's drawing, which has the same magnification. Calculate the actual length of the cell in micrometres. [3]3 marks
(a) 10 x 40 = x400 [1].
(b) Actual size = image size / magnification [1] = 24 / 400 = 0.06 mm [1]. Convert to um: 0.06 x 1000 = 60 um [1].
Describe how you would use a light microscope to focus on a prepared slide, and explain why you begin with the lowest-power objective. [4]4 marks
Clip the slide on the stage and rotate the nosepiece to the lowest-power objective [1].
Exam-style questionsUse the coarse focus to bring the image into view, then the fine focus to make it sharp [1].Only then switch to a higher-power objective and refocus with the fine focus [1].The low-power lens has a larger field of view,- so the specimen is easier to find, and the lens is further from the slide so there is less risk of damaging the slide or lens [1].
A student's drawing of a plant cell was criticised for three reasons. Suggest three improvements. [3]3 marks
Any three from: use a sharp pencil with clear continuous lines [1]; no shading or colouring [1]; label lines drawn with a ruler and not crossing [1]; draw the cell larger so it fills most of the space and keep proportions accurate [1]; add a title and the magnification [1].
Section 7 of 8Key terms
| Term | Meaning |
|---|---|
| Magnification | How many times larger an image appears than the real object. |
| Resolution | The smallest distance between two points that can still be seen as separate. |
| Field of view | The area of the specimen that can be seen through the microscope at one time. |
| Objective lens | One of the lenses on the nosepiece, nearest the specimen, with different magnifying powers. |
| Eyepiece lens | The lens at the top of the microscope that you look through. |
| Coverslip | A thin square of glass or plastic placed over the specimen to flatten it and protect the lens. |
| Stain | A dye added to a specimen to make structures show up more clearly. |
| Micrometre (um) | A unit of length equal to one thousandth of a millimetre. |
Section 8 of 8Exam technique
Marked practiceQuizzes for this lesson
Magnification Triangle & Unit Conversion
Formula: M = I / A ⇔ A = I / M ⇔ I = M × A
Units: 1 mm = 1,000 μm = 1,000,000 nm.
Rule: Convert Image size (ruler mm) to μm by ×1,000 before dividing by Actual size.